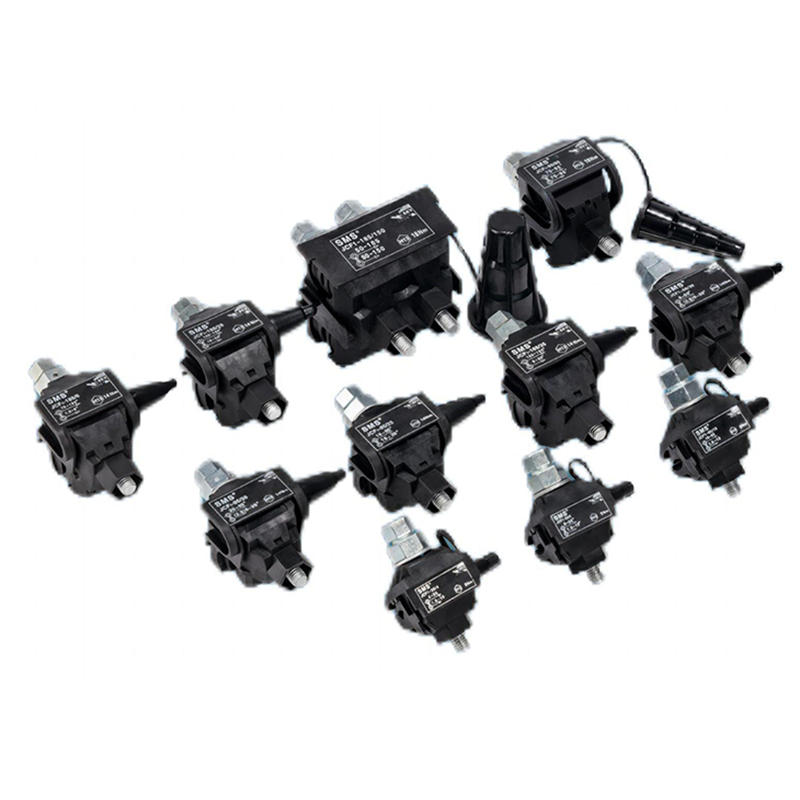
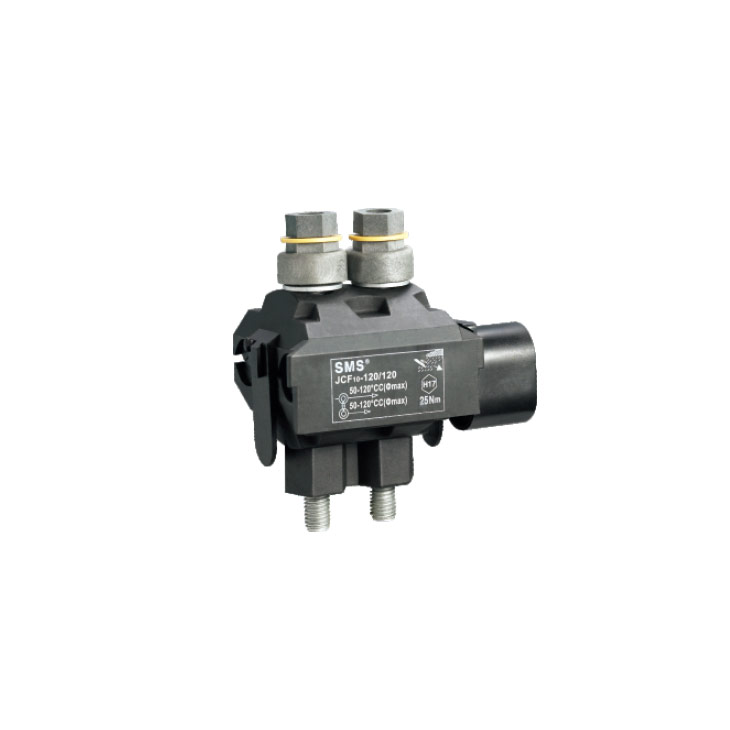
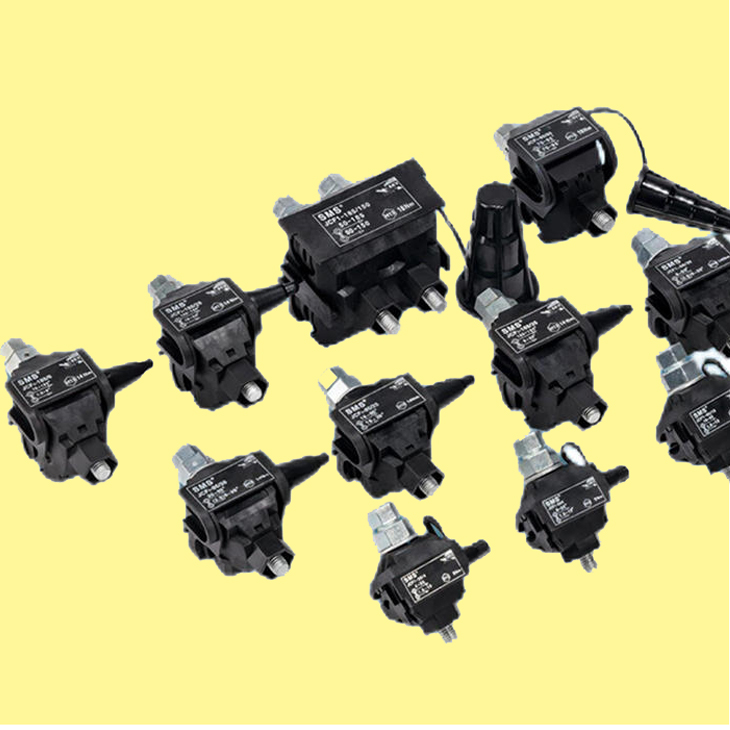
Insulation piercing connectors (IPCs) are widely used in electrical connection systems for their convenience and efficiency. However, to ensure their proper functioning and the safety of the electrical system, it is crucial to install them correctly. Here is a step - by - step guide on the correct installation of insulation piercing connectors.
1. Preparation Before Installation
1.1 Select the Right Connector
First and foremost, choose an insulation piercing connector that is compatible with the cable you intend to use. Consider factors such as the cable's diameter, material (copper or aluminum), and the required current - carrying capacity. For example, if you are working with a 6 - mm² copper cable, make sure the IPC is designed to handle that specific cable size and type. Using an incorrect connector may lead to poor electrical contact, overheating, or even electrical failures.
Check the connector's specifications for voltage rating as well. Ensure that it can withstand the voltage of the electrical system in which it will be installed. In a 220 - V household electrical system, the IPC should have a voltage rating equal to or higher than 220 V.
1.2 Gather the Necessary Tools
You will typically need a pair of pliers or a specialized crimping tool for installing the insulation piercing connector. The pliers or crimping tool should be of the appropriate size and strength to apply the necessary pressure during the installation process. If using a crimping tool, make sure it has the correct die size for the specific IPC being installed.
Additionally, have a measuring tape or caliper on hand to accurately measure the cable diameter and ensure proper alignment of the connector. A wire - stripping tool may also be required in some cases, although one of the advantages of IPCs is that they usually don't require extensive wire stripping.
1.3 Inspect the Cable and Connector
Thoroughly inspect the cable for any signs of damage, such as cuts, nicks, or abrasions. If the cable is damaged, it may need to be repaired or replaced before installing the IPC. A damaged cable can affect the integrity of the electrical connection and pose a safety hazard.
Examine the insulation piercing connector as well. Look for any manufacturing defects, such as bent or dull piercing teeth, cracks in the housing, or loose components. A faulty connector should not be used, as it may lead to unreliable connections.
2. Installation Process
2.1 Clean the Cable Surface
Before installing the IPC, clean the surface of the cable where the connector will be placed. Remove any dirt, dust, oil, or other contaminants using a clean cloth or a suitable cleaning agent. Contaminants on the cable surface can interfere with the piercing process and reduce the effectiveness of the electrical connection. In an industrial environment where the cable may be exposed to grease and grime, proper cleaning is essential.
2.2 Align the Connector with the Cable
Carefully position the insulation piercing connector over the cable at the desired connection point. Ensure that the piercing teeth of the connector are directly aligned with the cable's insulation. The alignment should be precise to ensure that the teeth penetrate the insulation evenly and make proper contact with the conductor inside. In a multi - conductor cable, make sure the connector is aligned with the correct conductor.
2.3 Apply Pressure
Using the pliers or crimping tool, apply gradual and consistent pressure to the connector. The pressure should be sufficient to force the piercing teeth through the cable's insulation and make contact with the conductor. However, be careful not to apply too much pressure, as this can damage the cable or the connector. Follow the manufacturer's guidelines for the recommended pressure to be applied. Some IPCs may have a visual or tactile indicator to show when the correct pressure has been achieved.
2.4 Secure the Connector
Once the piercing teeth have made contact with the conductor, ensure that the connector is securely fastened to the cable. Some IPCs have a locking mechanism, such as a snap - on cover or a threaded collar, which should be engaged to prevent the connector from loosening over time. In applications where the cable may be subject to vibrations or movement, a secure connection is crucial to maintain the integrity of the electrical connection.
3. Post - installation Checks
3.1 Visual Inspection
After installation, conduct a visual inspection of the connection. Check that the connector is firmly attached to the cable and that there are no visible signs of damage to the cable or the connector. Look for any gaps between the connector and the cable, which could indicate an improper connection. Also, ensure that the piercing teeth have fully penetrated the insulation and that there is no exposed conductor.
3.2 Electrical Testing
Use a multimeter or other appropriate electrical testing equipment to check the electrical connection. Measure the resistance between the connector and the cable conductor. A low - resistance reading indicates a good connection, while a high - resistance reading may suggest a problem, such as a loose connection or a poor - quality contact. In a live electrical system, you can also perform a voltage - drop test to ensure that the connection is not causing excessive power losses.
By following these steps carefully, you can ensure the correct installation of insulation piercing connectors, which in turn will contribute to the reliable and safe operation of the electrical system.